Continuous delivery with Gitlab and Rancher
Part 2 - CI Pipeline and installing Rancher
The second part of this series is about setting up a CI pipeline from build to Docker image of the application as well as installing and cofiguring Rancher on Digitalocean through docker-machine.
Last time we stoped at the successful invocation of the CI pipeline with the compile and test stage. In order to push the applicatication to production environment there are a few steps necessary. The first step towards this goal is to create Docker image out of the software that we want to deploy.
Create a docker image in the CI pipeline
In order to do that, we need to adjust our .gitlab-ci.yml file like this:
image: java:8

variables:
    GRADLE_OPTS: "-Dorg.gradle.daemon=false"
    CONTAINER_TEST_IMAGE: mariodavid/kubanische-kaninchenzuechterei:$CI_BUILD_REF_NAME
    CONTAINER_RELEASE_IMAGE: mariodavid/kubanische-kaninchenzuechterei:latest

before_script:
    - chmod +x gradlew

stages:
  - build
  - test
  - release-jar
  - release-container

build:
  stage: build
  script:
    - ./gradlew -g /cache/.gradle clean assemble
  allow_failure: false

test:
  stage: test
  script:
    - ./gradlew -g /cache/.gradle check

buildJar:
  stage: release-jar
  script:
    - ./gradlew -g /cache/.gradle buildUberJar
  artifacts:
    untracked: true

buildContainer:
  image: docker:git
  services:
    - docker:dind
  stage: release-container
  dependencies:
    - buildJar
  before_script:
    - docker login -u $DOCKER_REGISTRY_USERNAME -p $DOCKER_REGISTRY_PASSWORD
  script:
    - mkdir -p ./deployment/container-files
    - cp ./build/distributions/uberJar/app.jar ./deployment/container-files/app.jar
    - cd ./deployment
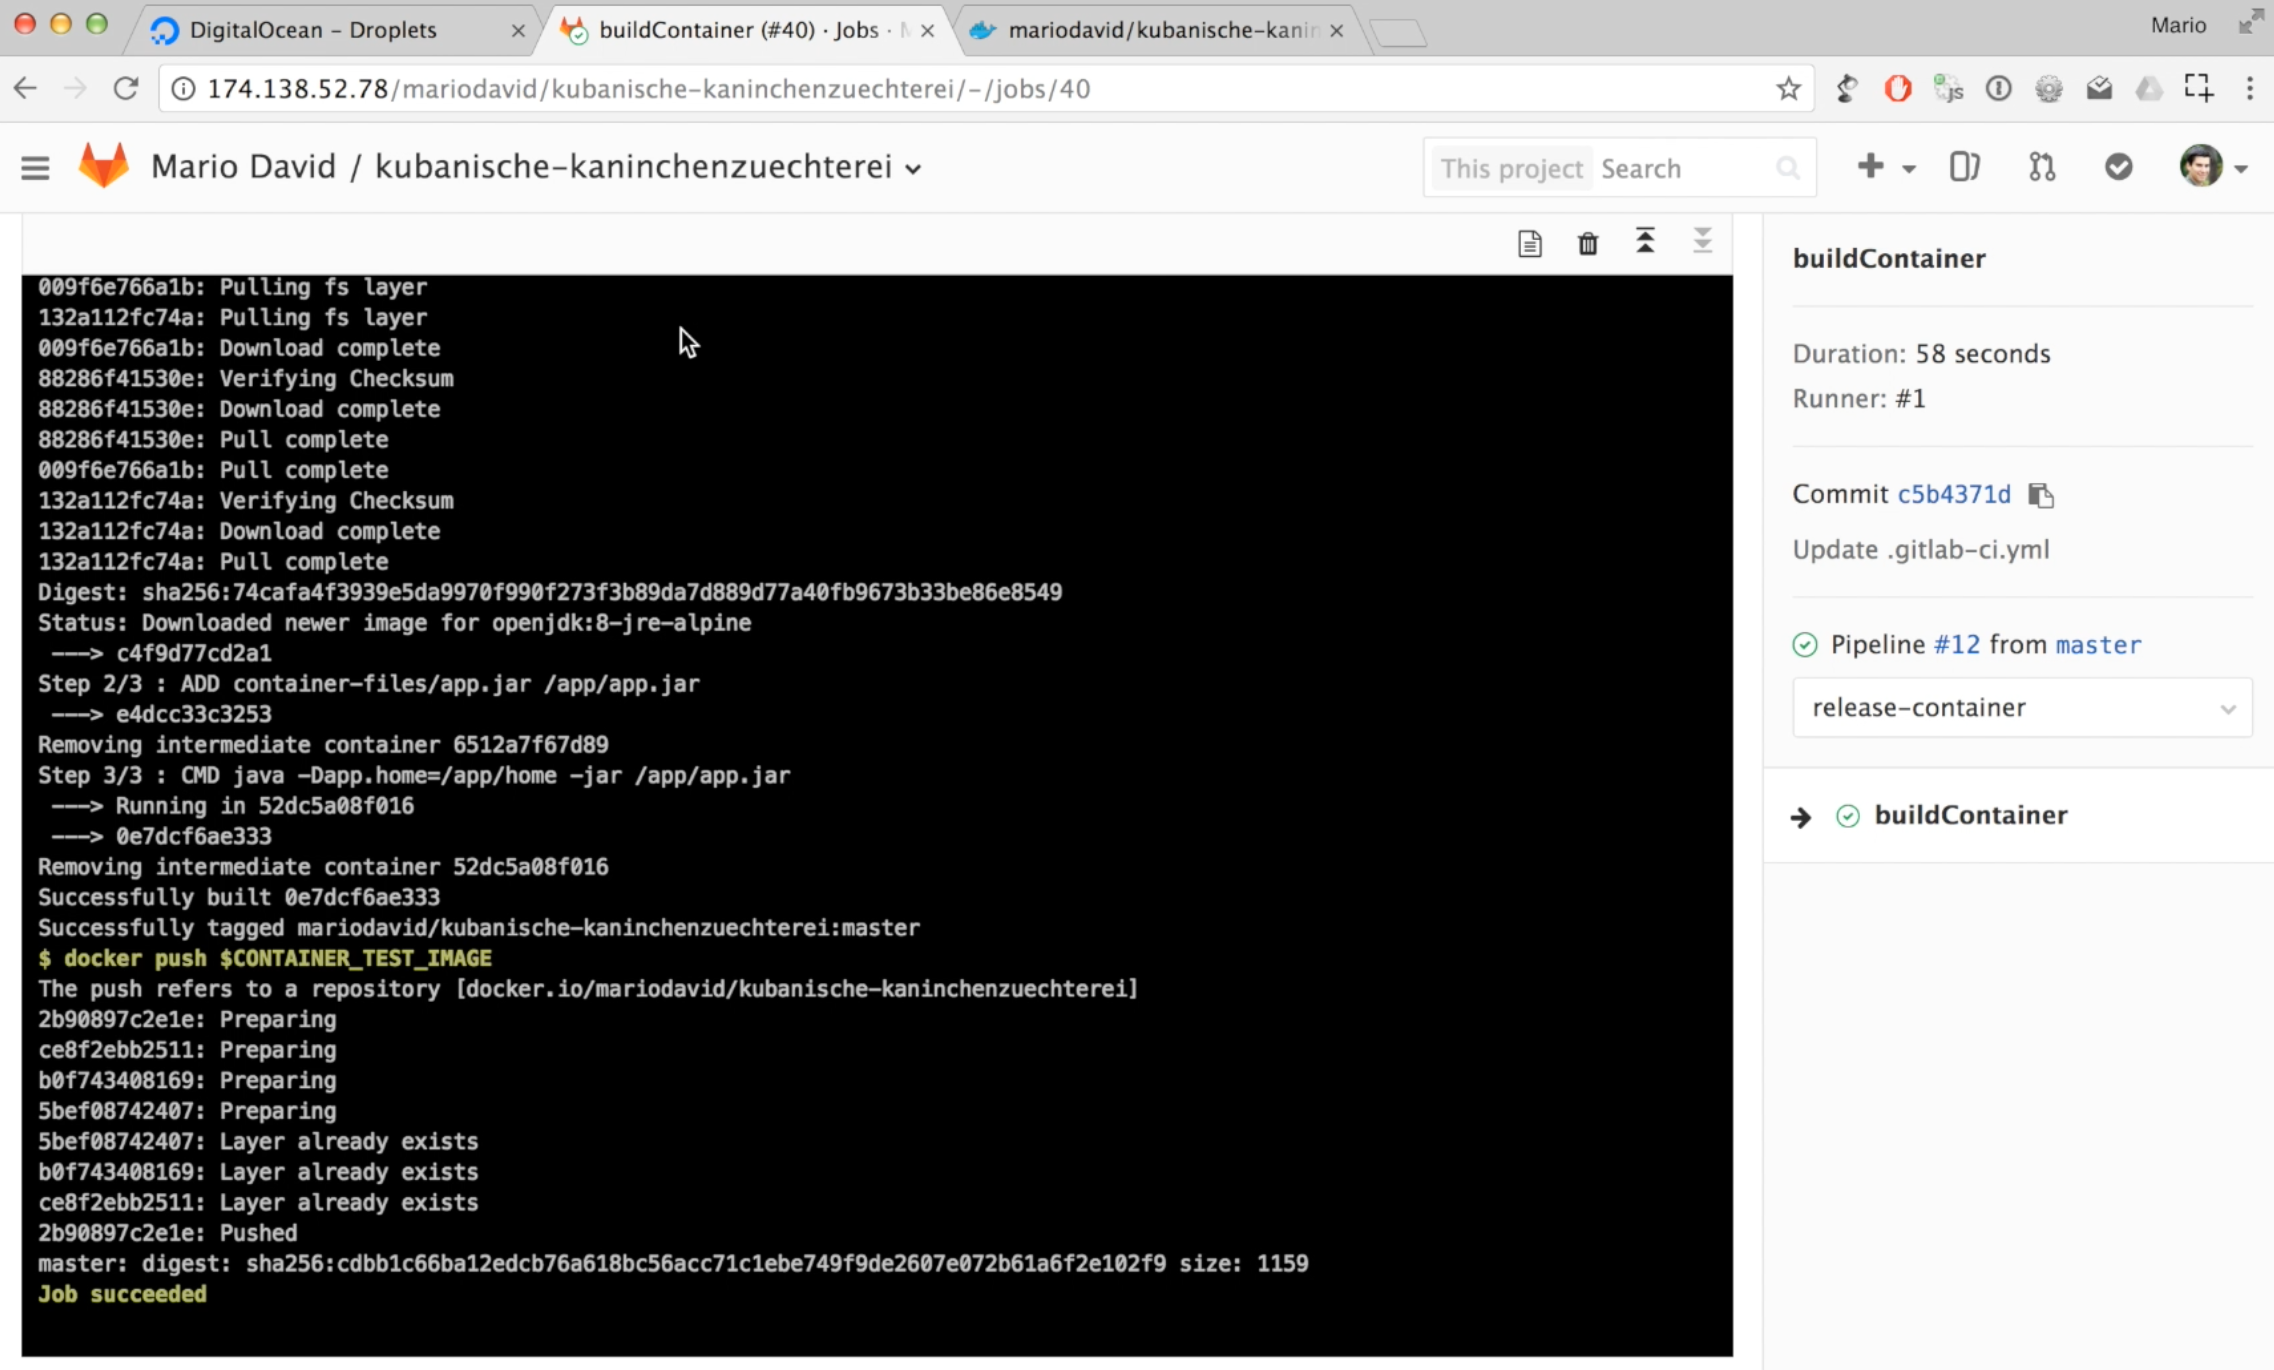
    - docker build -t $CONTAINER_TEST_IMAGE .
    - docker push $CONTAINER_TEST_IMAGE
  only:
    - master
Compared to the file from the first blog post, there are two new stages:
- release-jar
- release-container
The release jar stage will run after the tests are executed sucessfully. It will execute the Gradle task buildUberJar which is a task that creates a runnable jar file from the CUBA platfrom application.
With this our application is packaged. But as the unit of work for Rancher is a Docker image, we need to pack this jar file into a Docker container and execute it properly.
Luckily as the jar is self-contained, we do not need a servlet container or anything else configure. Instead we will just execute java -jar app.jar on it. But we will get to that in a second. Let’s first take a look at the steps that the buildContainer job will execute.
First it needs to get the artifacts that have been produced by the release-jar job. Normally jobs don’t share anything, because each job will be executed in another container instance. To share artifacts between jobs there is an artifacts section in the release-jar job that will tell Gitlab to not throw away those files. In this case we can set “untracked: true” meaning, that all files that are not tracked by the git repository will be stored. This includes the jar file.
In the buildContainer job we set a dependency to the buildJar job. With this the job is capable of getting access to those files.
The next notable thing in this job is that we need to execute docker commands. This means, that there needs to be a docker binary installed in the container that is running the job. Therefore we take the image “docker:git”. Additionally we need to configure the service “docker-in-docker” “docker:dind” to be available. More informaiton about this topic can be found in the gitlab using docker build docs.
The docker image creation part mainly consits of the docker command docker build. The push to Dockerhub is done via docker login and docker push. To make the login process possible you can define environment variables in Gitlab that can be used in the CI pipeline.
To get the full picture of how the software is actually build, it is necessary to take a look at the Dockerfile because with this we see what happens to the jar file that the buildJar job creates:
FROM openjdk:8-jre-alpine

ADD container-files/app.jar /app/app.jar

CMD ["java", "-Dapp.home=/app/home", "-jar", "/app/app.jar"]
As already said above, the self-contained jar file can just be run without a dependency to a servlet container. It only requires Java to be inplace, which is the reason the Docker image extends the openjdk:8-jre-alpine image.
Running docker in docker
When you try to run the pipeline you’ll get an error that says something along those lines:
Cannot connect to the Docker daemon at unix:///var/run/docker.sock. Is the Docker deamon running?
The reason for that is that running docker commands or even a docker container in a docker container is something that is not a very idea and leads to some weired situations. I’ll not go into details on that. Gitlab has a good article that describes how the approaches to this are: using docker builds.
To fix the problem, what we need to do in our case is to adjust the file /etc/gitlab-runner/config.toml in the gitlab runner instance. You can do this via the following docker command:
docker exec -it gitlabrunner_web_1 bashOnce you have a running shell in the container, you can edit the file:
nano /etc/gitlab-runner/config.tomlprivileged = true
volumes = ["/var/run/docker.sock:/var/run/docker.sock", "/cache"]When you edited the file, you need to restart the gitlab-runner gitlab-runner restart.
Now you have to manually start the pipeline, because there has been no changes in code been made, which would have triggered the pipeline automatically.

With this we have successfully packaged our application. When we think of the Docker packaging as the main unit of work like Rancher (or Kubernetes or Docker itself etc.) does, it becomes clear, that from now on we only have to care about how to run this piece of software. At this point it actually does not matter anymore if the software is a Java based software or runs on NodeJS or if it is a prolog program.

This is actually a really powerful concept and we should really treat it that way. You can think of this as futuramas make-o-matic. You can create easily reproducible instances of your software through this CD pipeline, just like Bender did with a picture of a guitar that he wanted to reproduce.
Installing rancher
After we have done everything to run our software in a reproducable manner, we only need to create our environment that should run it.
Rancher is one of the many tools that have arised just after Docker came along. It tries to solve problems that Docker did not address in the first versions. Also they add different additional features that are more in the management space of this area.
To install rancher, we will just as with the Gitlab installation create a docker-machine on Digitalocean to host the rancher-management-ui. Also just like in the Gitlab architecture (with the Gitlab runners) there will be one or more different VMs that will host the actual containers that are managed by rancher.
To create the rancher ui container create a VM like this:
docker-machine create --driver digitalocean --digitalocean-access-token $DOTOKEN --digitalocean-image ubuntu-16-04-x64 --digitalocean-size 2gb --digitalocean-tags gitlab-rancher-example rancher-ui-host
eval $(docker-machine env rancher-ui-host)
Once this is done, we can start the Rancher container. In the repo you’ll find the following docker-compose.yml file for the gitlab-ui container:
rancher:
  image: 'rancher/server:stable'
  restart: always
  ports:
    - '8080:8080'
docker-compose up -d will start the container. After the container is started you can enable access control (I show it in the video).
Start a rancher-host for the containers (like Gitlab runner)
The next and last step for this blog post is to create a Rancher host, that will run the container for us. This can be done via the command line through rancher cli or through docker-machine manually. But in this case we will use the Rancher UI for it. Rancher has integrations to a lot of IaaS providers like AWS, Azure or Digitalocean. We will stick with Digitalocean in this case.
To create a Rancher host you have to go to the UI like this: Rancher UI > Default environment > Hosts > Add Host > Digitalocean. Add the Access token of Digitalocean ($DOTOKEN) and create a machine.
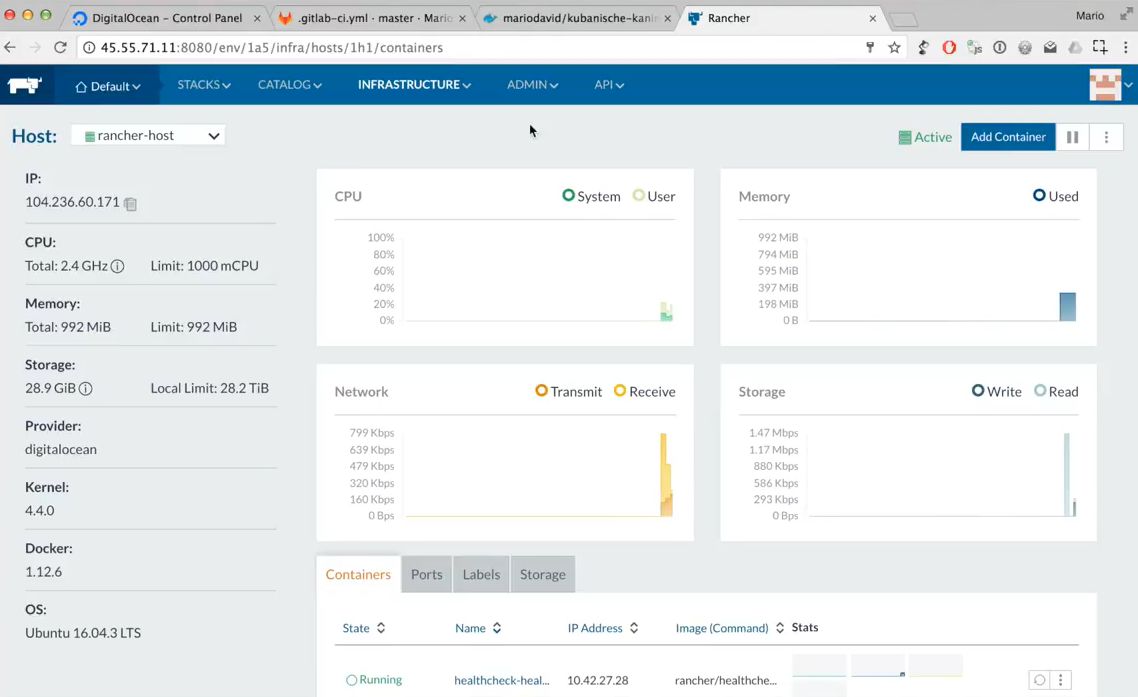
After a couple of minutes you’ll see in the UI that the host has been started and the required infrastructure containers like the Rancher agent have been started.

Connecting to Rancher through the CLI
In order to deploy to rancher, we need to get an API key for Rancher and configure our shell environment accordinly. This can be done via the UI: API > Keys. After creating a key, you have to add the following information into your shell (e.g. .bashrc):
export RANCHER_URL=http://<<RANCHER_IP>>:8080
export RANCHER_ACCESS_KEY=<accessKey_of_account_api_key>
export RANCHER_SECRET_KEY=<secretKey_of_account_api_key>
With this you can use the rancher cli and execute something like rancher hosts.
In the next blog post we will use all of this configuration and installation to combine our Rancher instance together with our Gitlab installation so that our CD pipeline will automatically deploy every change in the code to our staging and or production system.
