Continuous delivery with Gitlab and Rancher
Part 1 - Overview and installing Gitlab
In this blog post series I would like to show how to create a self-hosted continuous delivery pipeline with Gitlab and Rancher. We’ll take an example application and create a complete CD pipeline to cover the workflow from idea to production.
When developing applications in a more or less professional setting, it requires to have something like a continuous integration / continuous delivery pipeline in place.
The reason for that is, that these pipelines generally lead to a degree of automation of your workflow as well as an increase in speed and quality of the different processes.
When you look around at how to solve these problems, you’ll quickly find online services that do the job very very well. Take a look at Github as a source code repository or Travis CI as a CI tool. These are all really good options, if you are either having the luxury working on open source software or you are willing to pay for these SaaS tools (which you probably really should thinking about).
Nevertheless, in other scenarios where for whatever reason you want to self-host some of these tools, there are options as well. In this blog post series I will do exactly that.
You can find the complete sources of the example on github: mariodavid/gitlab-rancher-example.
Additionally, you can find a five part video series on youtube that shows this guide as a running example: CI/CD with Gitlab and Rancher. You’ll also find the different steps as embedded videos in these blog posts.
Let’s start with one of the first and probably most important tools for a professional CI / CD pipeline: The source code repository.
Source code repository - Gitlab
A repository where your application source code is crucial and it is a must have for almost 30 years in the software industry. One example of a VCS (version control system) is Git and since it has become so dominant in the last years, we will focus on that.
As I already said, a lot of online hosted git respository options are available. However, we will take a look at an open source, self-hosted version of it called: Gitlab. Although Gitlab offers online hosting, it is possible (and common) to self-host the software - and this is what we will do.
Gitlab consists of different parts: a web application, the actual storage of the source code, a relational database for the web application etc.
Luckily Gitlab offers two distribution packages that will make handling a Gitlab installation much easier: The Omnibus package and a Docker container. The omnibus package, just like the name suggests, has everything packed into a single thing sothat you as a user don’t really have to care about a lot of stuff. The Docker container packages this all together so that you can start it with a single command.
You can find the Gitlab CE docker container on Dockerhub.
To start up a Gitlab instance, you have to execute the following command:
docker run -d --hostname gitlab.example.com -p 80:80 --name gitlab gitlab/gitlab-ce:latestI don’t have enough RAM, but the Cloud has…
Since the Gitlab Container itself will eat up quite a lot memory and this will not be the only Container to spin up for a fully fletched CD pipeline, we will choose to use a Cloud provider for the actual hardware resources.
In this example I will use Digitalocean for this purpose, but you can easily choose a different cloud provider or host it on your own servers due to the fact that I will use a Abstraction of the IaaS provider from the Docker ecosystem called “Docker Machine”.
Docker machine can start virtual servers on a variety of cloud providers as well as self hosted servers.
start a VM for Gitlab with docker-machine
The first thing that we need to do is to create a Digitalocean account and get an API key in order to let docker-machine communicate with Digitalocean.
I put the API token in an environment variable called DOTOKEN and will use this variable from now on. But you can also just put the API key directly into the command if you want to.
To start a VM (or Droplet in the Digitalocean terms) we use the following bash command:
docker-machine create --driver digitalocean --digitalocean-access-token $DOTOKEN --digitalocean-image ubuntu-16-04-x64 --digitalocean-size 4gb --digitalocean-tags gitlab-rancher-example gitlab-hostIn order to run Gitlab smoothly, a 4GB droplet is necessary. Additionally I created a tag called After this is done, we want our docker binary to connect to this newly created VM in order to start Containers etc. This can be done via:
eval $(docker-machine env gitlab-host)To verify that we use the correct docker machine, we can check the output of docker-machine ls.
Once this is done, we can start the Gitlab container. Compared to the docker command from above, we will use docker-compose so that we can define the configuartion of the container in a file more accurately. In the repo you’ll find the following docker-compose.yml file for the gitlab-ui container:
web:
  image: 'gitlab/gitlab-ce:latest'
  restart: always
  hostname: '174.138.52.78'
  environment:
    GITLAB_OMNIBUS_CONFIG: |
      external_url 'http://174.138.52.78'
  ports:
    - '80:80'
    - '443:443'
    - '8622:22'
  volumes:
    - '/srv/gitlab/config:/etc/gitlab'
    - '/srv/gitlab/logs:/var/log/gitlab'
    - '/srv/gitlab/data:/var/opt/gitlab'
Before starting the container, we need to adjust the IP address (8.8.8.8) in the settings so that Gitlab knows on which public IP it is operating. To get the public IP of the digitalocean droplet, you can either go to the web UI of digitalocean, or use the equivalent doker-machine command docker-machine ip gitlab-host.
After this is done, the container can be started with
docker-compose up -d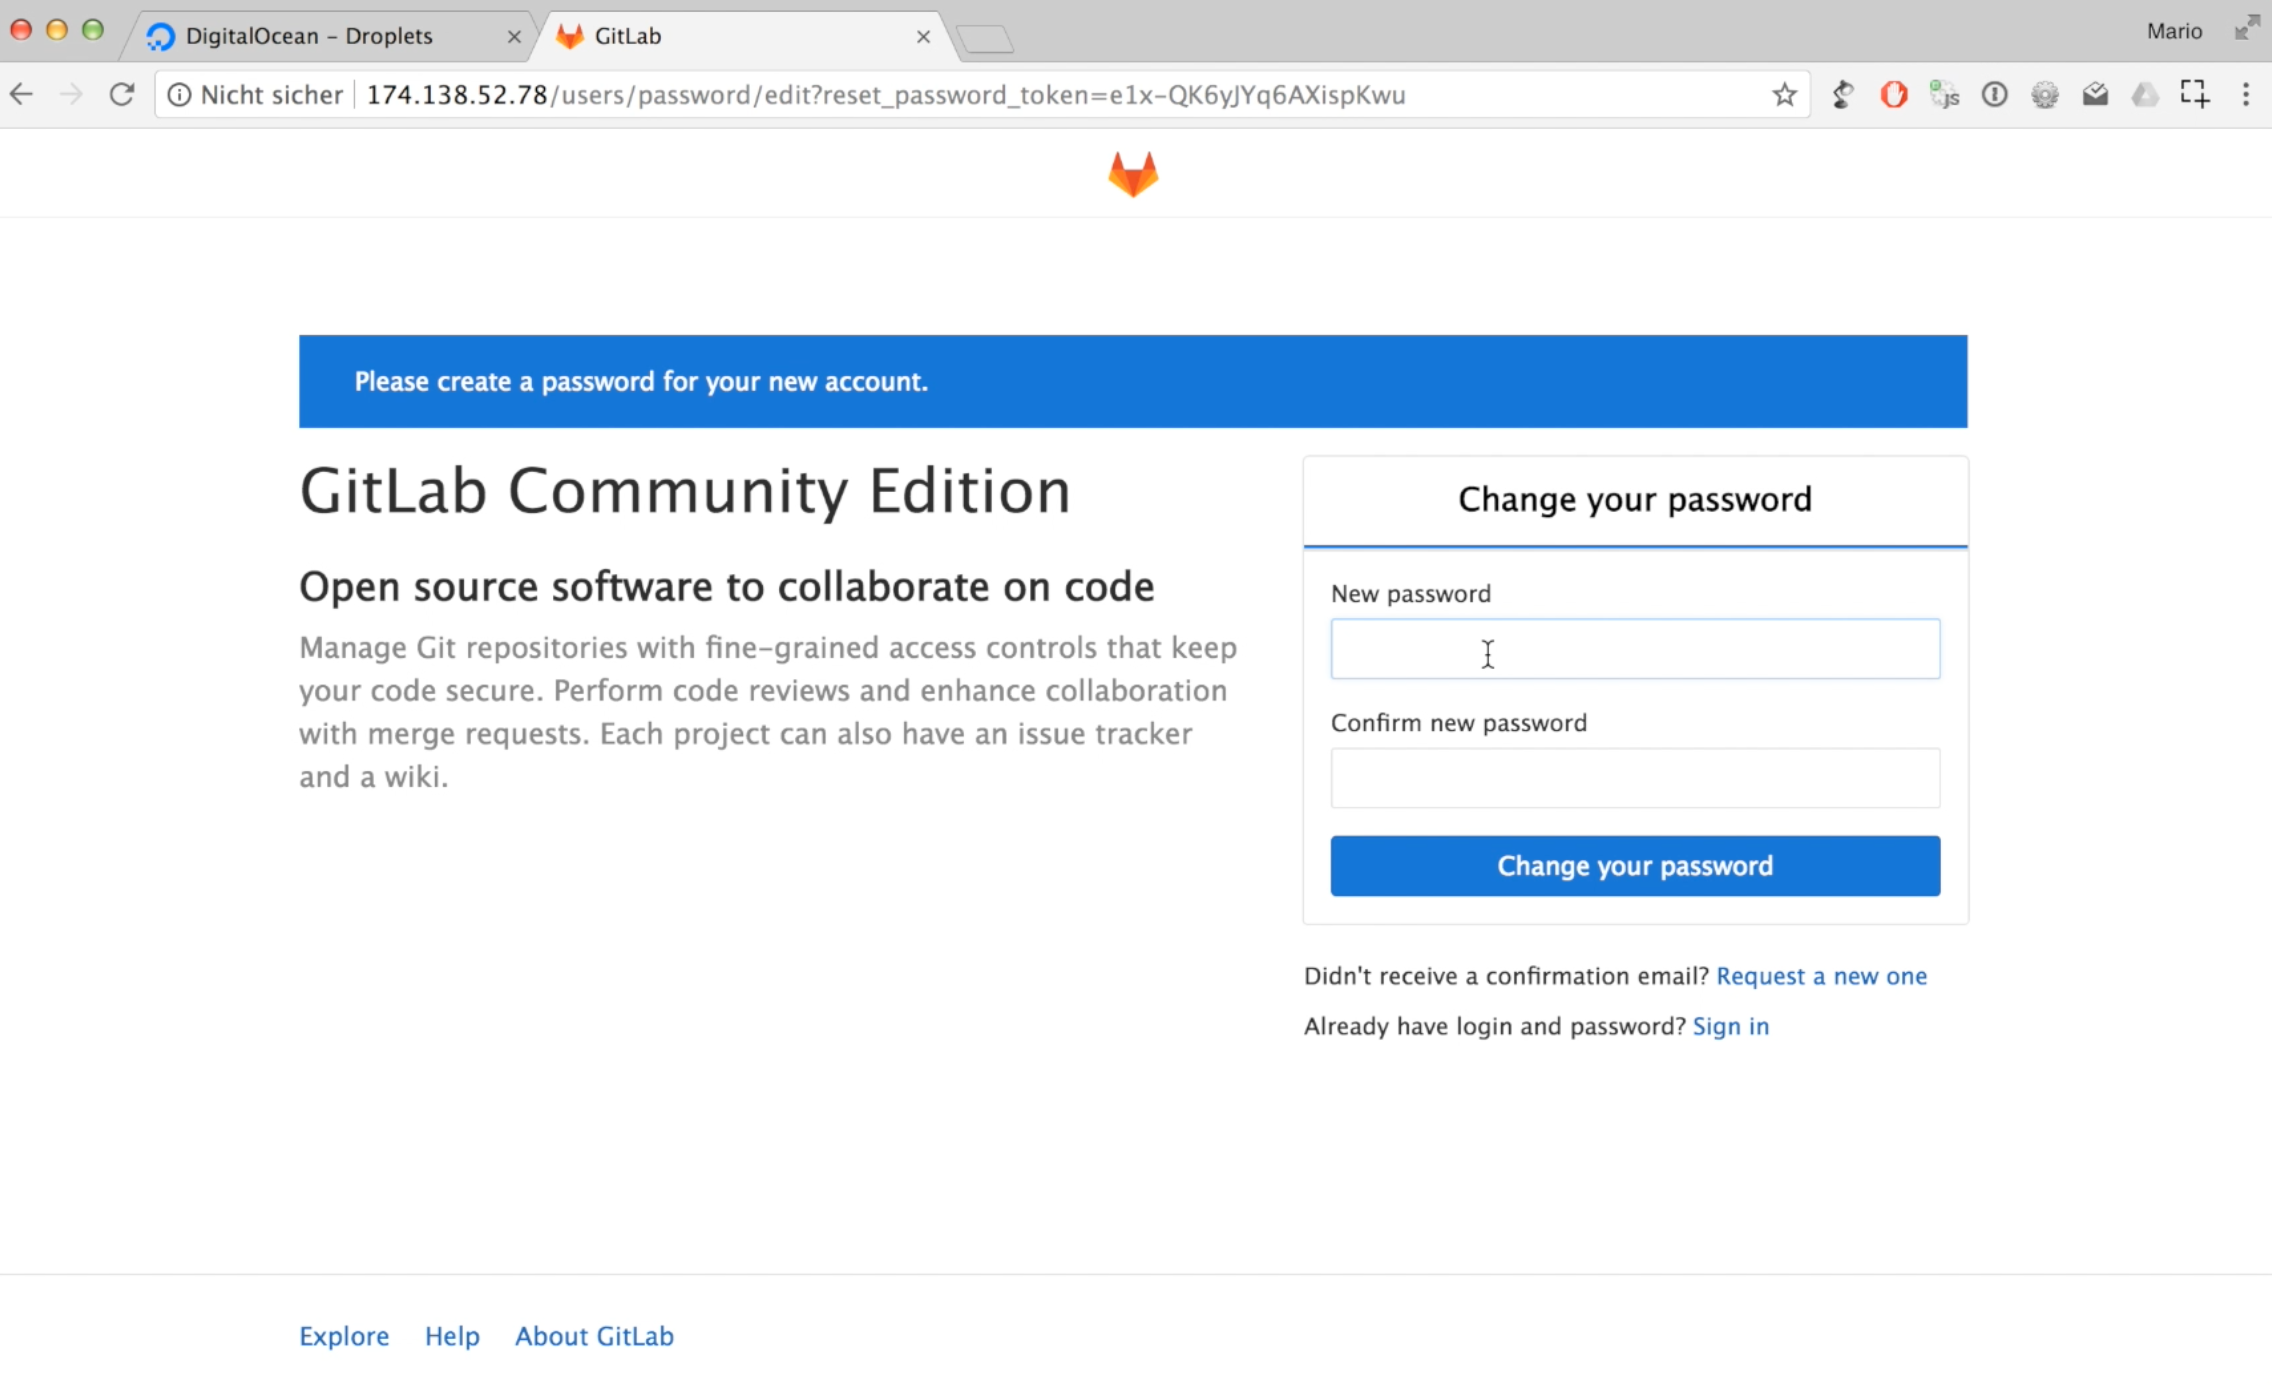
This will trigger the download of the container on the VM and starts it accordingly. When the process is finished, you can open the Gitlab UI in the browser and define a root password.

Setting up Gitlab CI runner
After Gitlab is running, we will create the second part of Gitlab, which is the runner for the CI system. The Gitlab-UI container istself is not the part that is executing the builds.
Instead Gitlab has the notion of runners (or executors), which will handle this job. This has certain benefits compared to a monolithic approach, because this way there can be different runners for different repositories which will contain the necessary software to execute the builds. Additionally this way it is much more easily possible to scale the runner portion of the system in case there are a lot of parallel CI jobs to run.
To start a runner, we will use the same VM we created before. Normally this is not the best practice, but for the example we will stick to this. When you want to create a dedicated VM for the Gitlab runner(s), you just have to do another docker-machine create.
To create a Gitlab runner, we can use the official docker image from Gitlab just like with the Gitlab UI part (docker-compose.yml) :
web:
  image: 'gitlab/gitlab-runner:latest'
  restart: always
  volumes:
    - '/var/run/docker.sock:/var/run/docker.sock'
    - '/srv/gitlab-runner/config:/etc/gitlab-runner'
Starting the Gitlab runner just like above:
docker-compose up -dAfter the command is executed and the container is online, we need to connect the runner with the UI. To do this, we need
to execute gitlab-runner register in the container. To do this, we can use the exec command from Docker like this:
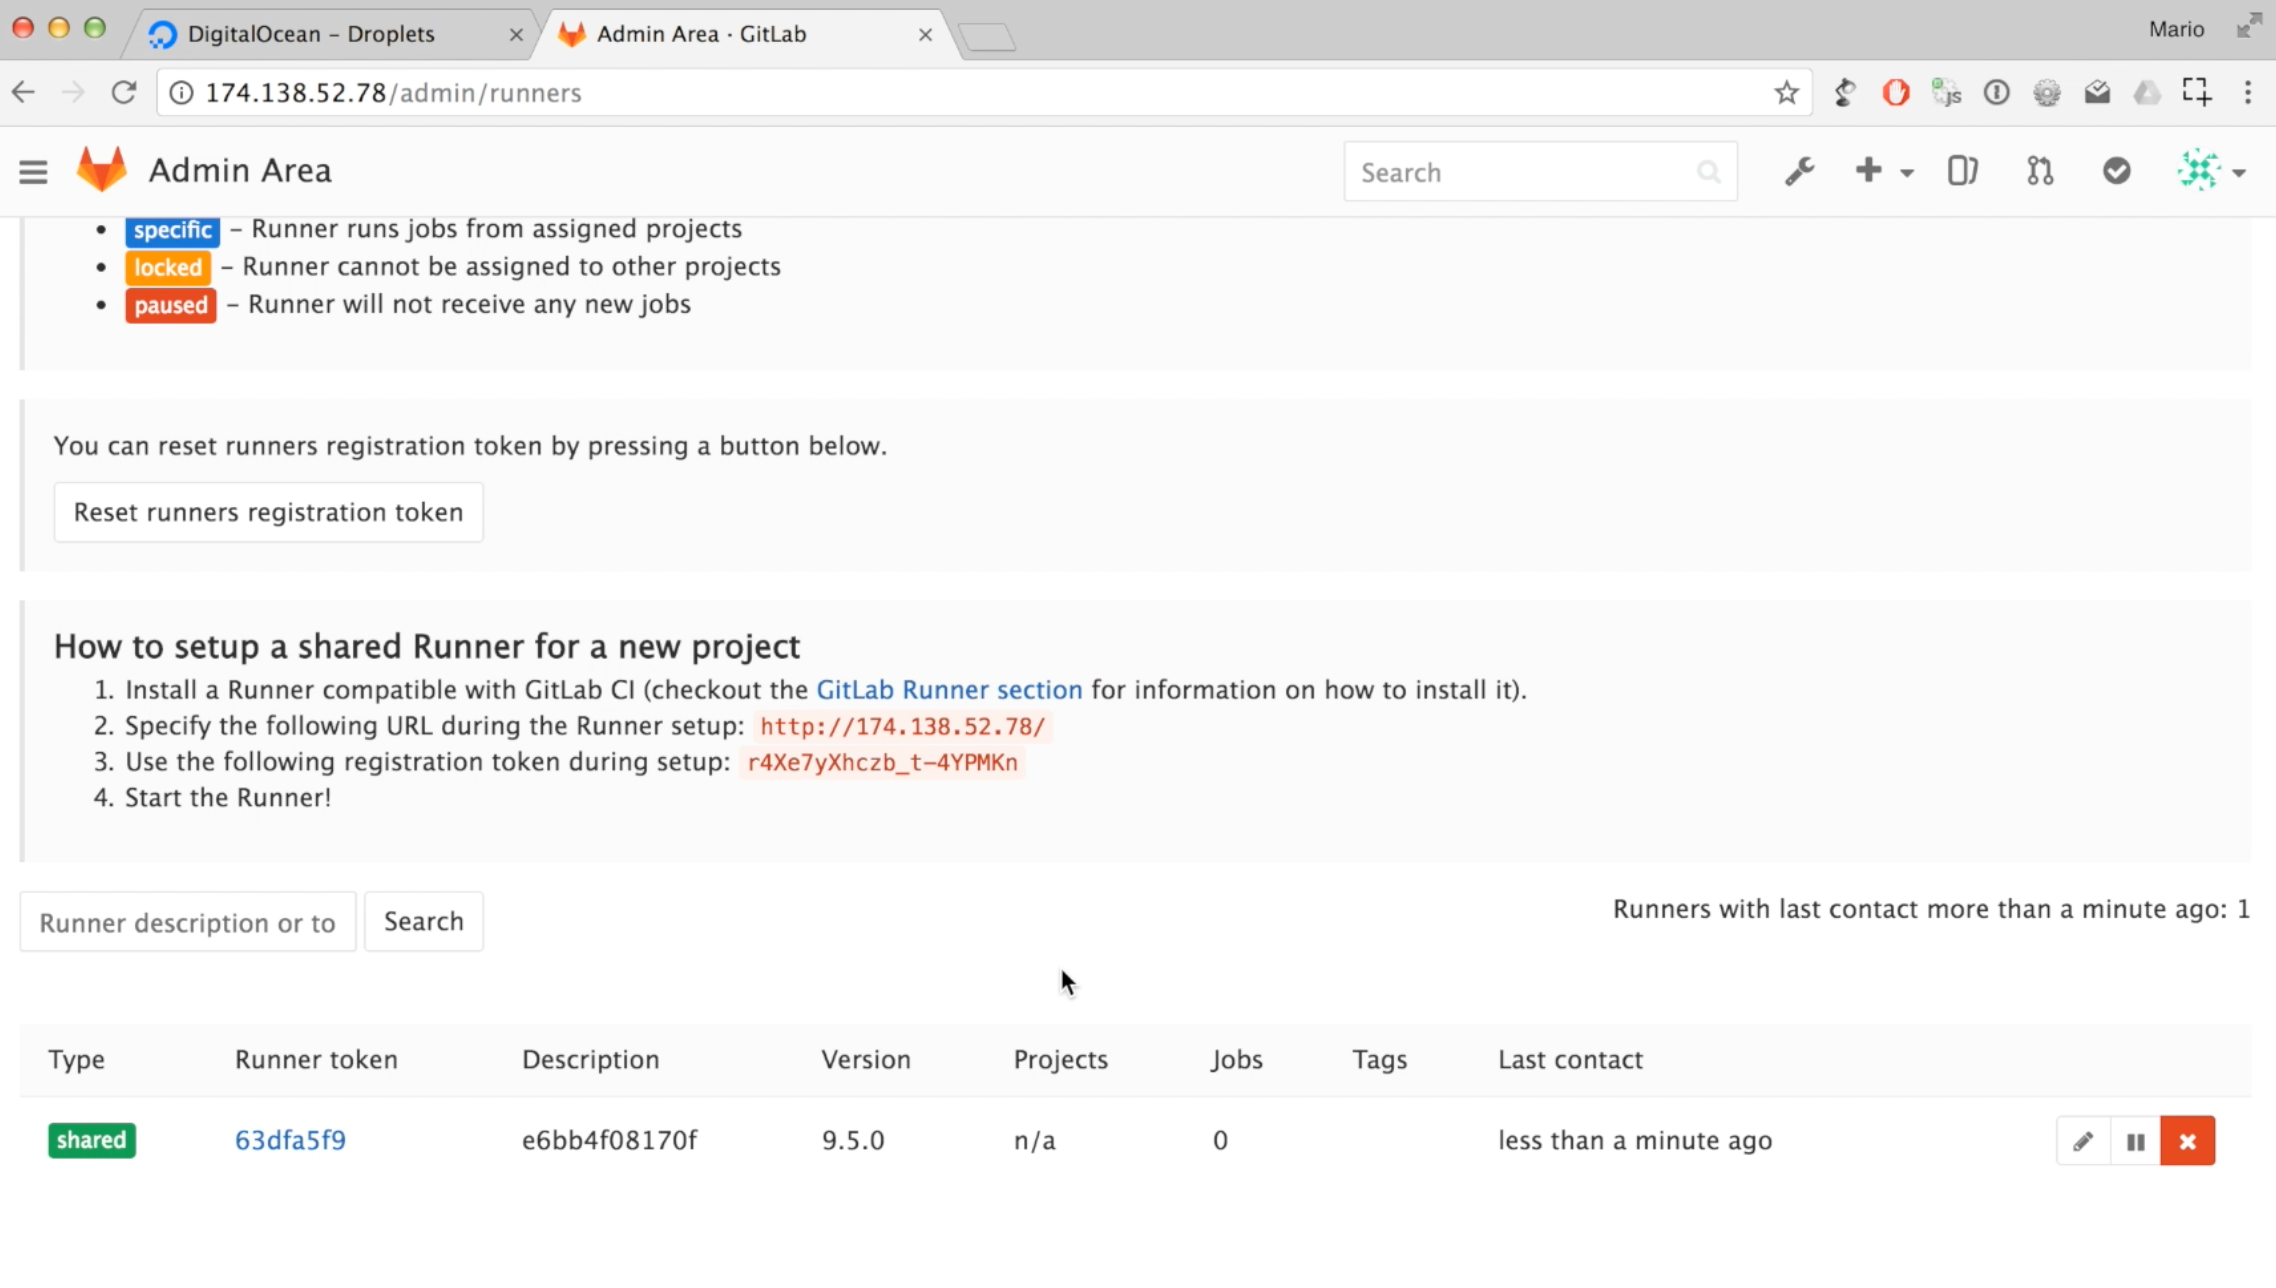
docker exec -it gitlabrunner_web_1 bashThis gives us a shell in the docker container. So now we can execute gitlab-runner register. The wizard that is executed will asks us a few things. Mainly it wants to know where to find the HTTP endpoint of the Gitlab UI instance as well as the Gitlab CI access token. You can find the token in the Gitlab UI when you login as root in Gitlab UI and then go to the “admin area” » “runners”.
So here are the settings for the wizard:
- coordinator URL: http://«DOCKER_MACHINE_IP»
- CI token: «GITLAB_UI_ACCESS_TOKEN»
- executor: docker
- default docker image: java:8-jdk
The other settings can be configured as suggested via the wizard (just leave the values blank).
After the wizard is finished, you can see the active runners in the same page of the Gitlab UI:
Creating a project and configuring CI
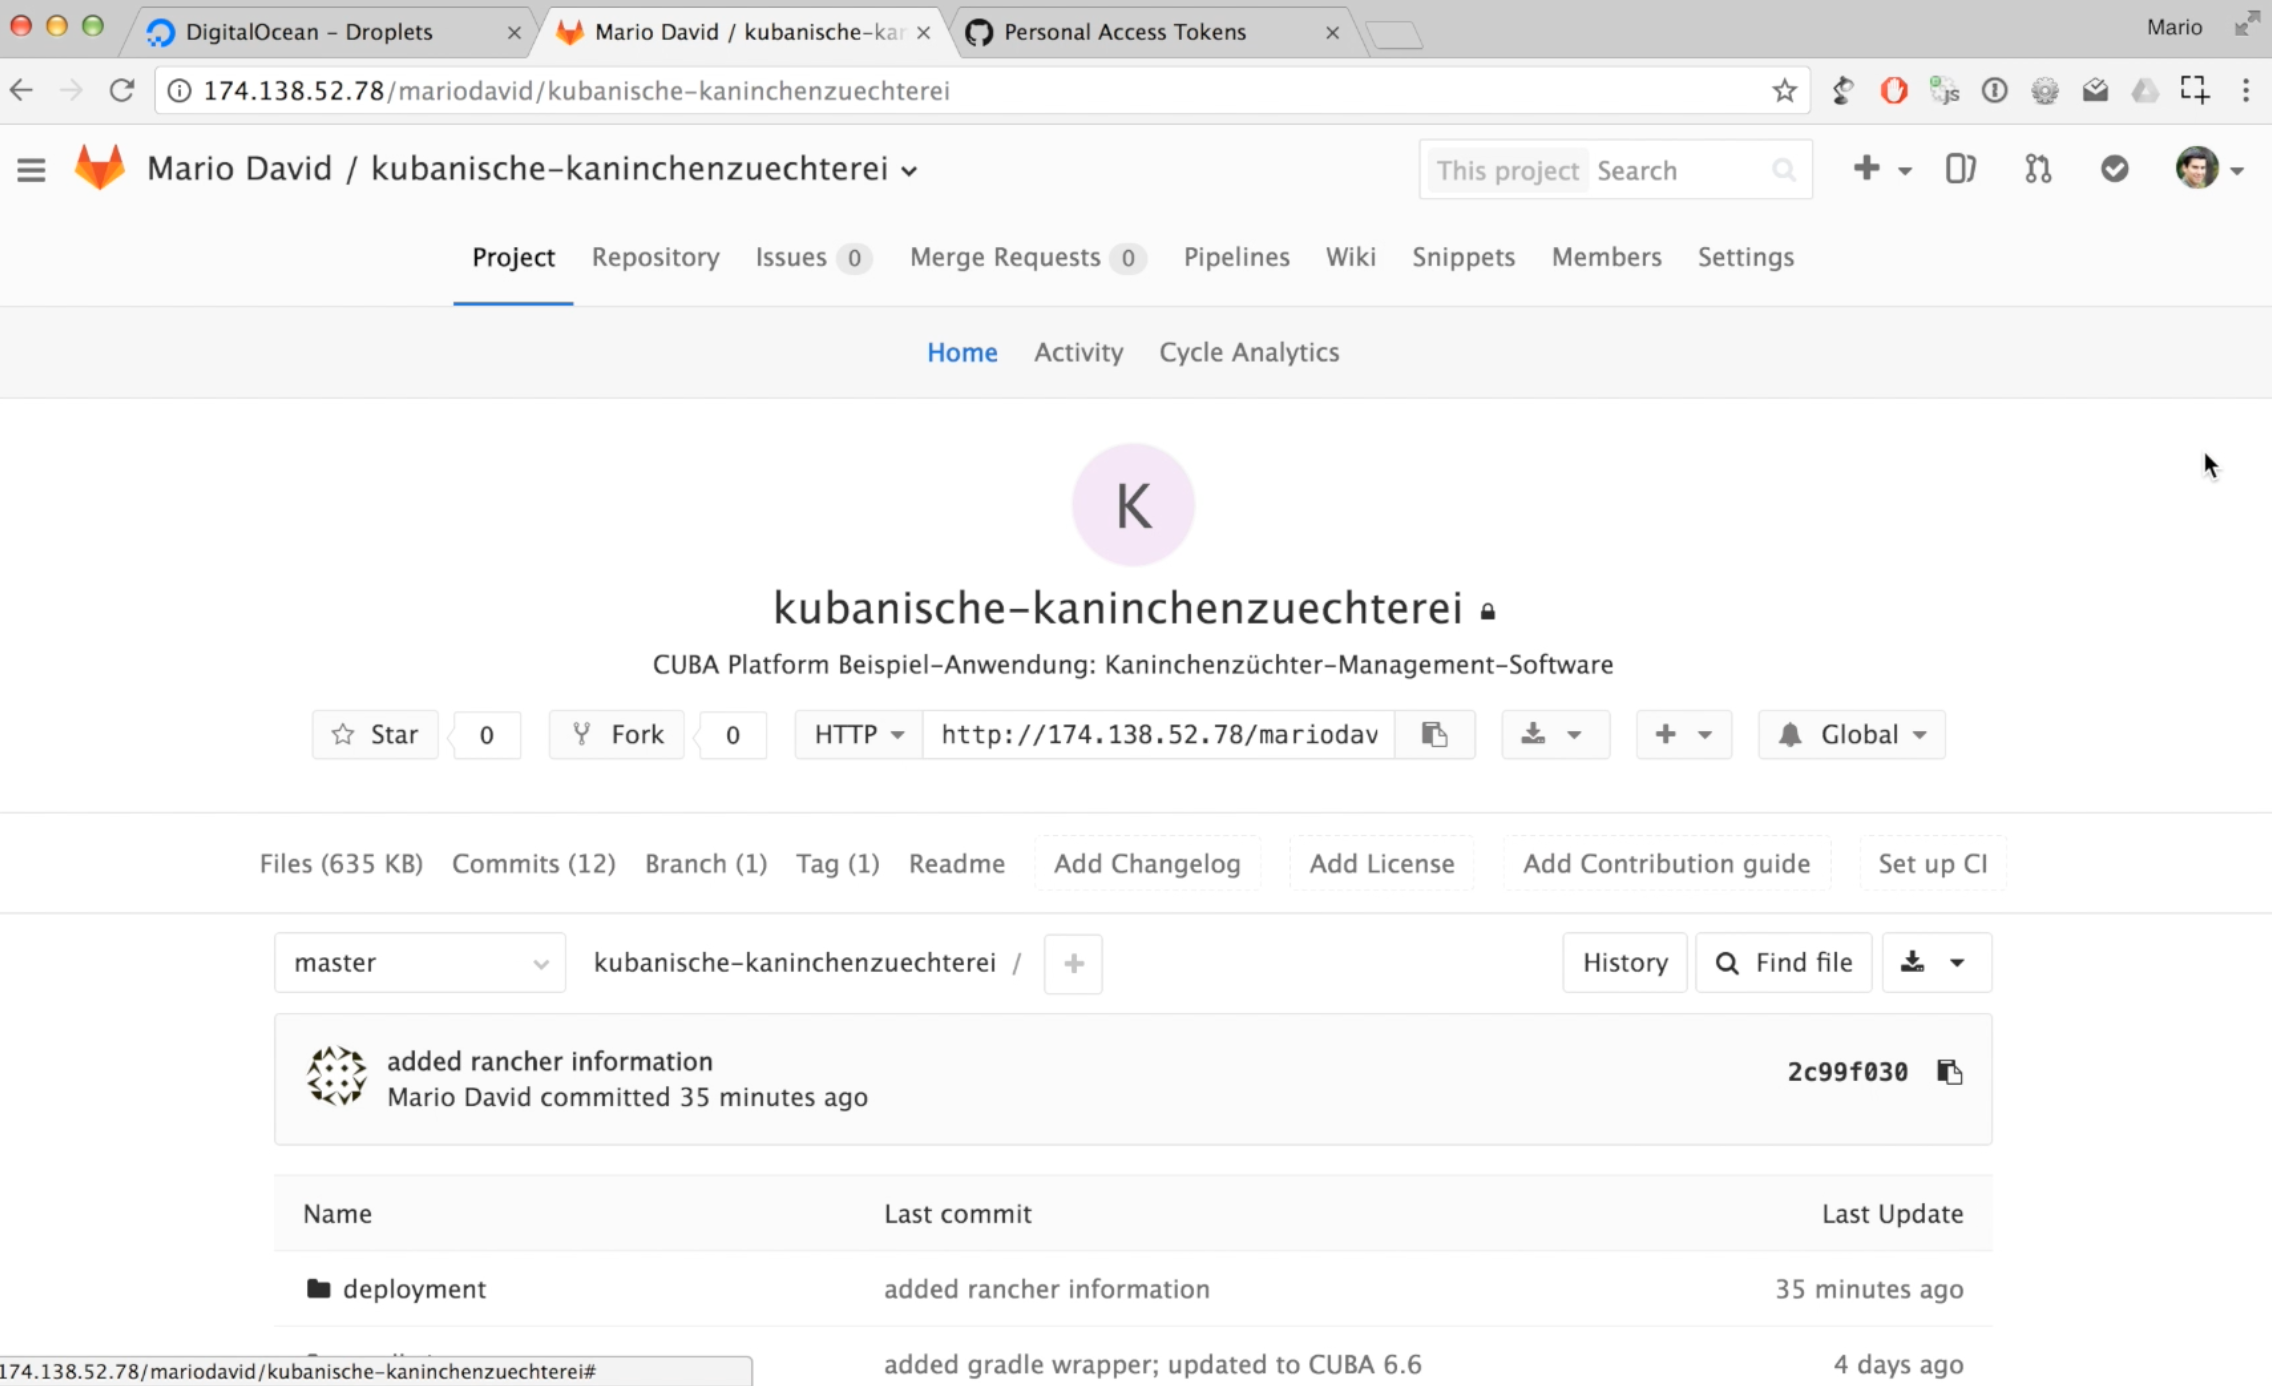
After both parts of Gitlab are configured correctly, we can go on and create our first repository. For this, you have to logout as the admin (or “root” as the account is called in Gitlab) and register a new account. Once you are logged in as the new user, you can create a project. In this case I, instead of creating a repo from scratch, imported an already existing project from Github: https://github.com/mariodavid/kubanische-kaninchenzuechterei
CI configuration through .gitlab-ci.yml
On the upper right of the repository browser, there is a button called “Set up CI” which will enable us to define our steps in the CI build. Basically this will create a .gitlab-ci.yml file in the repository which will control the CI runner. To keep the CI definition within the repository is very valuable and has become the main way of doing it throughout the CI tool landscape.
The example project is a normal CUBA platform application. As CUBA uses gradle as the build system, we can just choose Gradle from the template list of Gitlab CI configurations. The template provided by Gitlab looks like this:
image: java:8
variables:
GRADLE_OPTS: "-Dorg.gradle.daemon=false"
before_script:
- chmod +x gradlew
build:
stage: build
script:
- ./gradlew -g /cache/.gradle clean assemble
allow_failure: false
test:
stage: test
script:
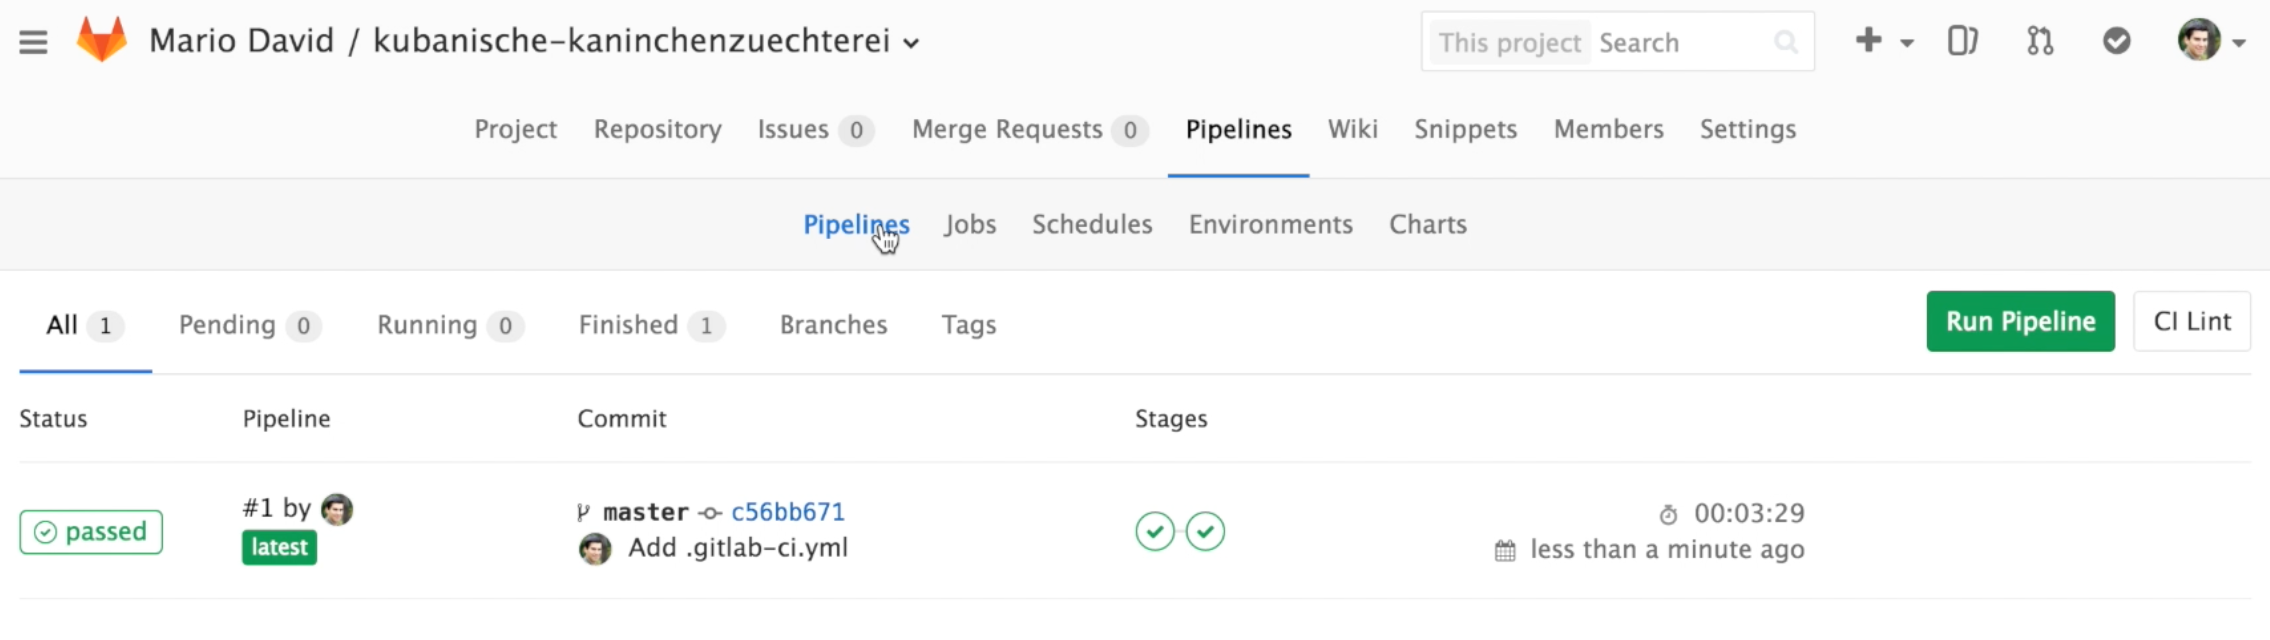
- ./gradlew -g /cache/.gradle checkClicking on “Commit changes” will save the file in the repo and start the first CI build right after that.
The .gitlab-ci.yml file definition is declarative based approach to configure the UI steps. There is a very bold reference from Gitlab which I will point you to here. But mainly it consists of so called “jobs” and “stages”. A stage is one step in the pipeline, while there might be multiple jobs per stage that are executed in parallel. The job contains one or more scripts that should get executed (in this case ./gradlew check e.g.).

One additional thing you might noticed in the yaml file is the first line image: java:8. This line describes the Docker image that should be used to execute this pipeline in general (or a particular job). The Gitlab runner will start a Container for every build in order to fully isolate the different biulds from each other.
With this we are ready with the first automated part of the CI pipeline. In the next part we will enhance the CI pipeline to build a docker container from the application and push it to Dockerhub. In the third part we will use this image in order to deploy this docker container into production with Rancher.